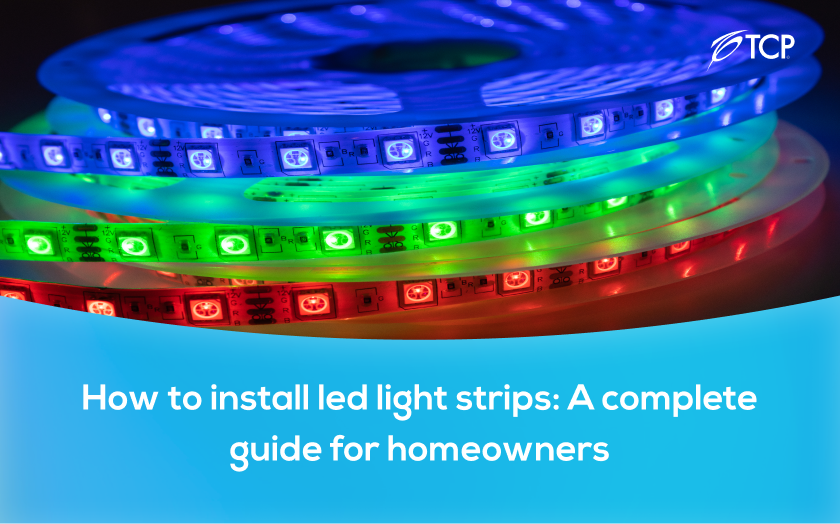
LED strip lights have become one of the most popular ways to add functional and decorative lighting throughout the home. With their slim profile, flexible design, and wide range of colour options, they’re perfect for everything from kitchen cabinets to behind-the-TV ambiance. But knowing how to install them properly is key to getting the look and performance you want. In this guide, we’ll walk through three popular installation methods, so you can find the best fit for your space and skill level.
LED strip lights are flexible, low-profile lighting solutions that feature rows of small LED chips mounted on a narrow circuit board. Designed to stick or mount along surfaces like shelves, ceilings, or cabinets, they offer a modern and energy-efficient way to brighten up your home or highlight decorative features. Installation is relatively straightforward and can be done in three main ways: using adhesive backing for simple peel-and-stick application, connecting and covering multiple strips for customised layouts, or hardwiring them directly into your mains power for a permanent, seamless finish. Each method comes with its own advantages — from ease and flexibility to long-term durability — and the best option depends on your needs, space, and level of experience.
This is the easiest and most popular method of installing LED strip lights, especially for renters or homeowners who want to enhance their lighting without committing to a permanent fixture. Adhesive-backed strips are user-friendly, quick to install, and require no special tools or electrical knowledge.
Start by deciding exactly where you want the light to go — under kitchen cabinets, along stair treads, around a headboard, or behind a TV unit. Take accurate measurements and check how close your nearest power source is. If your strip is powered by USB or plugs into a wall socket, make sure the cable will comfortably reach. Most LED strips are cuttable at specific points, so check the manufacturer’s guidelines if you need to shorten or join sections.
Proper surface prep is essential for a secure, long-lasting bond. Wipe the area thoroughly with a dry cloth, or use a small amount of rubbing alcohol to remove grease or dust. Painted walls, wood, metal, and tile are all suitable surfaces as long as they’re smooth and dry. Avoid textured or uneven finishes, which may prevent the adhesive from sticking effectively.
Before committing to the placement, plug in the LED strip and turn it on to ensure it’s functioning correctly. This quick test lets you verify brightness, colour temperature, and any additional settings such as dimming or flashing modes. It also helps you see how the light will look in the intended space and whether any adjustments to position or length are needed before installation.
Carefully peel away a small portion of the adhesive backing and begin pressing the strip into place. Work in small sections to maintain control and avoid tangles or uneven lines. Apply gentle pressure as you go to ensure good contact with the surface. For awkward angles or corners, consider using clip-on connectors or L-shaped adaptors — these help preserve the connection and allow the strip to bend without damage.
Once the strip is fully installed, take a moment to neaten any trailing wires or connectors. Use adhesive cable clips, Velcro ties, or mini trunking to guide wires along skirting boards or behind furniture, keeping them out of sight. This not only improves the overall look of the installation but also reduces the risk of cables snagging or being pulled loose during everyday use.
This method is ideal for homeowners planning a more customised or extended lighting setup — whether you’re linking multiple strips around a room or upgrading your kitchen with a seamless run of light. It involves both connecting different sections and concealing them within purpose-built channels for a polished, integrated look.
Start by mapping out your lighting route, especially if you’re connecting multiple LED strips. Note where each segment will begin and end, and determine the best way to link them. For basic plug-and-play setups, clip-on strip connectors work well. However, for more permanent or professional-grade results, soldering the joints gives you a cleaner and more reliable electrical connection — although this does require a soldering iron and a steady hand. Always check your strip’s voltage and polarity before connecting to avoid damage.
If your lighting needs to cross physical gaps — like between kitchen cabinets, over extractor fans, or around corners — extension cables and Y-splitters allow you to bridge those spaces without breaking the light run. These accessories help maintain a continuous flow of light without unwanted dark zones. Just ensure any cable used is compatible with the strip’s voltage and connector type to prevent voltage drops or mismatches.
To achieve a clean, refined finish, house your LED strips in plastic or aluminium channels. These not only conceal the strips but also protect them from dust, heat, and accidental damage. Many channels come with diffusers — frosted plastic covers that soften the light and eliminate harsh LED dots. This is especially effective in kitchens or living spaces where visible LEDs may look too industrial. Channels can be surface-mounted or recessed depending on the effect you’re after.
Enhance your installation with smart controls. Remote dimmers, motion sensors, and app-based controllers offer more flexibility and help tailor the lighting to your needs. Many modern LED strips are compatible with smart home systems like Alexa, Google Assistant, or Apple HomeKit, allowing you to schedule lighting, adjust colours, or sync with other smart devices. For simpler setups, inline remotes with brightness and colour adjustment are easy to install and intuitive to use.
This method is ideal if you’re looking for a long-term, professional-looking installation that blends seamlessly into your home. It provides a clutter-free finish, hides power supplies, and is perfect for new builds or major renovations. However, because it involves your home’s electrical wiring, it’s strongly recommended to consult or hire a qualified electrician unless you’re confident with mains electrics.
Not all LED strips can be connected directly to your home’s wiring. Look for models specifically designed for hardwiring — these usually run on 12V or 24V DC and require an LED driver or transformer to step down the voltage from the mains. Ensure the driver you select matches the strip’s power requirements (wattage and voltage) and has the correct capacity for the total length of strip you plan to install.
Before working with any electrical connections, safety is paramount. Turn off the power supply at your fuse box or consumer unit and double-check that no electricity is flowing through the wires you’ll be handling. Use a voltage tester if needed. It’s not worth taking risks — if you’re unsure, get professional help.
Wire your LED driver to the mains using appropriate cable and connectors. Then connect the driver output to your LED strip, ensuring the correct polarity — usually marked as “+” and “–”. Use terminal blocks, screw connectors, or soldered joints that are secure and well-insulated to prevent loose connections or short circuits. Consider using a junction box to keep everything neat and safe.
Once the wiring is complete, mount your LED strip in place. You can use the adhesive backing provided or install it within a heat-dissipating aluminium channel if you’re using a high-brightness strip. This helps extend the life of the LEDs by preventing overheating. Choose a location where the light source is hidden but the glow is visible — such as beneath cabinets or behind cornices.
When all components are securely connected, restore the mains power and check that the strip lights function correctly. Look for consistent brightness along the entire strip and ensure that no flickering or overheating occurs. Finally, organise all wiring and secure it out of sight, using clips, trunking, or enclosures to give the installation a safe, polished look that complements your space.
Whether you’re after a quick lighting upgrade or planning a more integrated setup, LED strip lights offer a smart and stylish solution for almost any space. From renters using peel-and-stick strips to homeowners hardwiring lights into kitchen cabinetry, there’s an approach for every need and budget. By understanding the different installation methods, you’ll be better equipped to create a lighting setup that’s functional, efficient, and visually appealing. With the right tools and a bit of planning, installing LED strip lights can be a straightforward and rewarding DIY project.