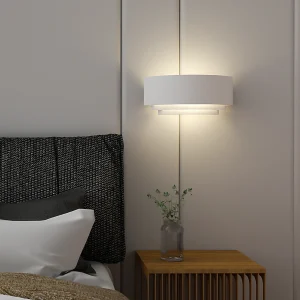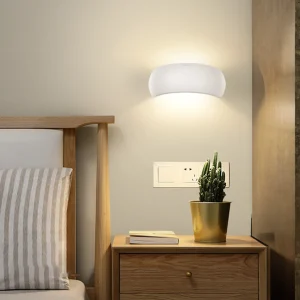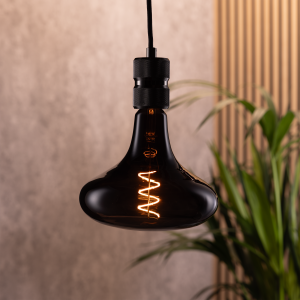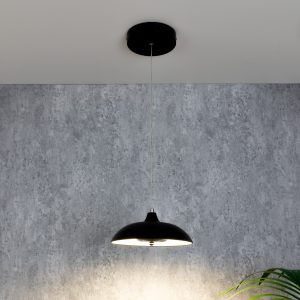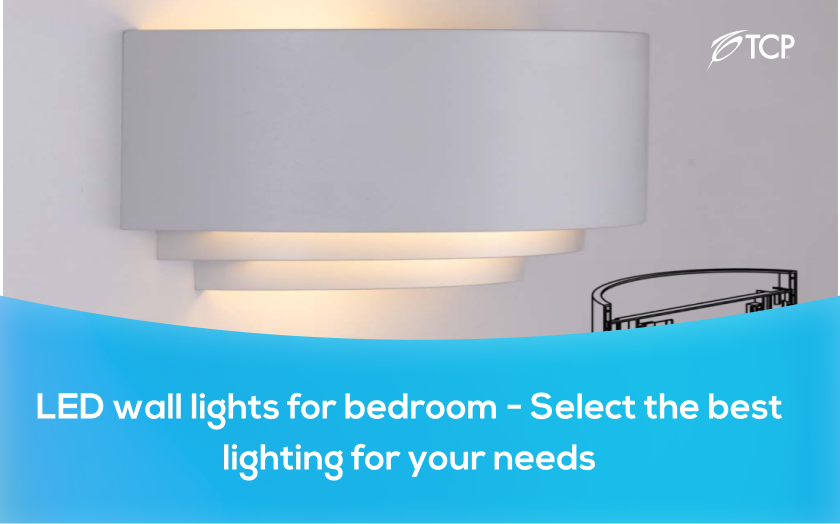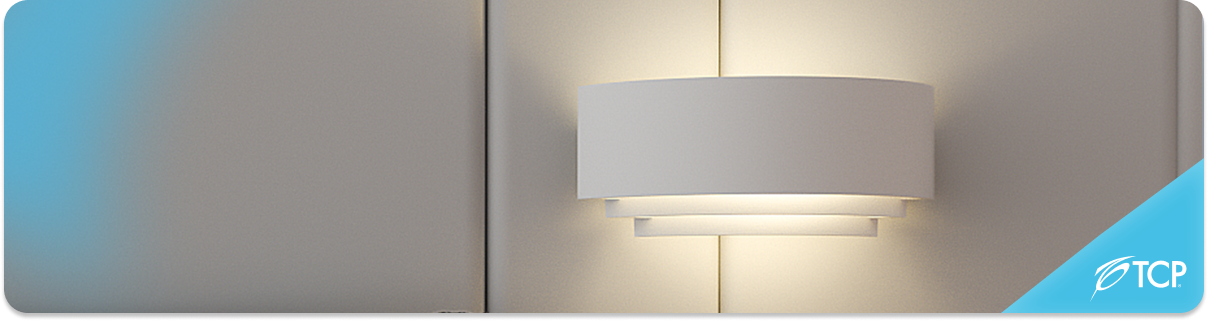
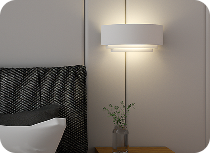
Installing wall lights is a simple yet effective way to add both style and functionality to any room, enhancing the overall design like a ceiling light does. Whether you’re aiming for a soft, ambient glow or targeted task lighting, wall-mounted fixtures can completely transform your space. With the right preparation and a bit of patience, this is a project most confident DIYers can handle. In this guide, we’ll take you through each step to ensure a safe and successful installation.
Before picking up any tools, decide exactly where you want the wall lights to go. Think about both function and aesthetics: Are the lights for reading, mood lighting, or general illumination? Typical mounting height is between 1.5 to 1.8 metres from the floor. For multiple lights along a wall (e.g., in a hallway), space them 2 to 3 metres apart for even distribution.
Hold the fixture up to the wall and visualise how it will look. Once satisfied, use a pencil to lightly mark the top and centre point. Then, use a spirit level to ensure your markings are straight—crooked fixtures can spoil the look and may need reinstallation.
Once the location is confirmed, you’ll need to secure the mounting bracket that comes with your wall light. Drill pilot holes where you’ve marked the screw positions. If you’re drilling into plasterboard, brick, or concrete, insert rawl plugs into the holes to provide extra grip for the screws. This is essential to support the weight of the light and ensure it doesn’t work loose over time.
Use a dust sheet or cloth to catch any debris, and wear safety goggles to protect your eyes from dust and particles.
Never work on electrical circuits while the power is on. Go to your consumer unit (fuse box) and switch off the relevant circuit, or turn off the main power supply. Confirm that the power is off using a voltage tester or a non-contact circuit tester. Touch the tester to the wires you’ll be working on—if the device does not light up or beep, it’s safe to proceed.
Take your time here. Double-checking this step could save your life.
Carefully pull the electrical wires through the hole in the wall. These should include:
If the wire ends are frayed or poorly stripped, cut back and remove about 1.5 cm of insulation with a wire stripper. Most modern wall lights include a small terminal block (also known as a connector block) inside the backplate. Open it up and connect each wire:
Ensure each wire is tightly secured in its terminal. You can wrap the terminals with electrical tape to reduce any chance of short circuits.
If your home wiring does not include an earth wire and your light fitting requires one, it’s best to consult a qualified electrician.
Once the wiring is complete and checked, position the fitting over the mounting bracket and line up the screw holes. Use the supplied screws to attach the light securely to the wall.
Make sure the fixture is level and aligned with your earlier markings. Gently tighten the screws without over-torquing, which could crack the fixture or bracket. If your light fitting has a glass shade or decorative cover, attach it as per the manufacturer’s instructions.
Return to your consumer unit and switch the circuit (or main power) back on. Go to the wall switch and test the light. It should illuminate immediately.
If it doesn’t work:
If problems persist, it’s safest to call in a professional to inspect the installation.
Wall lights not only illuminate your space but also add a polished, professional touch to your interior design. With careful planning and attention to safety, you can enjoy the satisfaction of completing the installation yourself. Always double-check your connections and don’t hesitate to consult a qualified electrician if unsure. Once installed, sit back and admire the warm, welcoming atmosphere you’ve created.